

OK so this is the finished look...here is a detailed step by step of how to get to it!
1) Apply your foundation, concealer, powder, and cheek colour (contour, bronzer, blush, highligher) as usual.
2) Rub a bit of eyeshadow primer across your lid. I have used the urban decay one shown below.

3) Use a light shimmery coloured eye shadow to sweep under your brow. Here I have used MAC SHROOM with a really big fluffy brush.


4) Apply another light shimmery colour but not the same as the colour applied under the brow. I used my all time favourite MAC colour (which I wear every day), NAKED LUNCH, with the same fluffy brush. Dust off on a tissue to make sure it's clear.


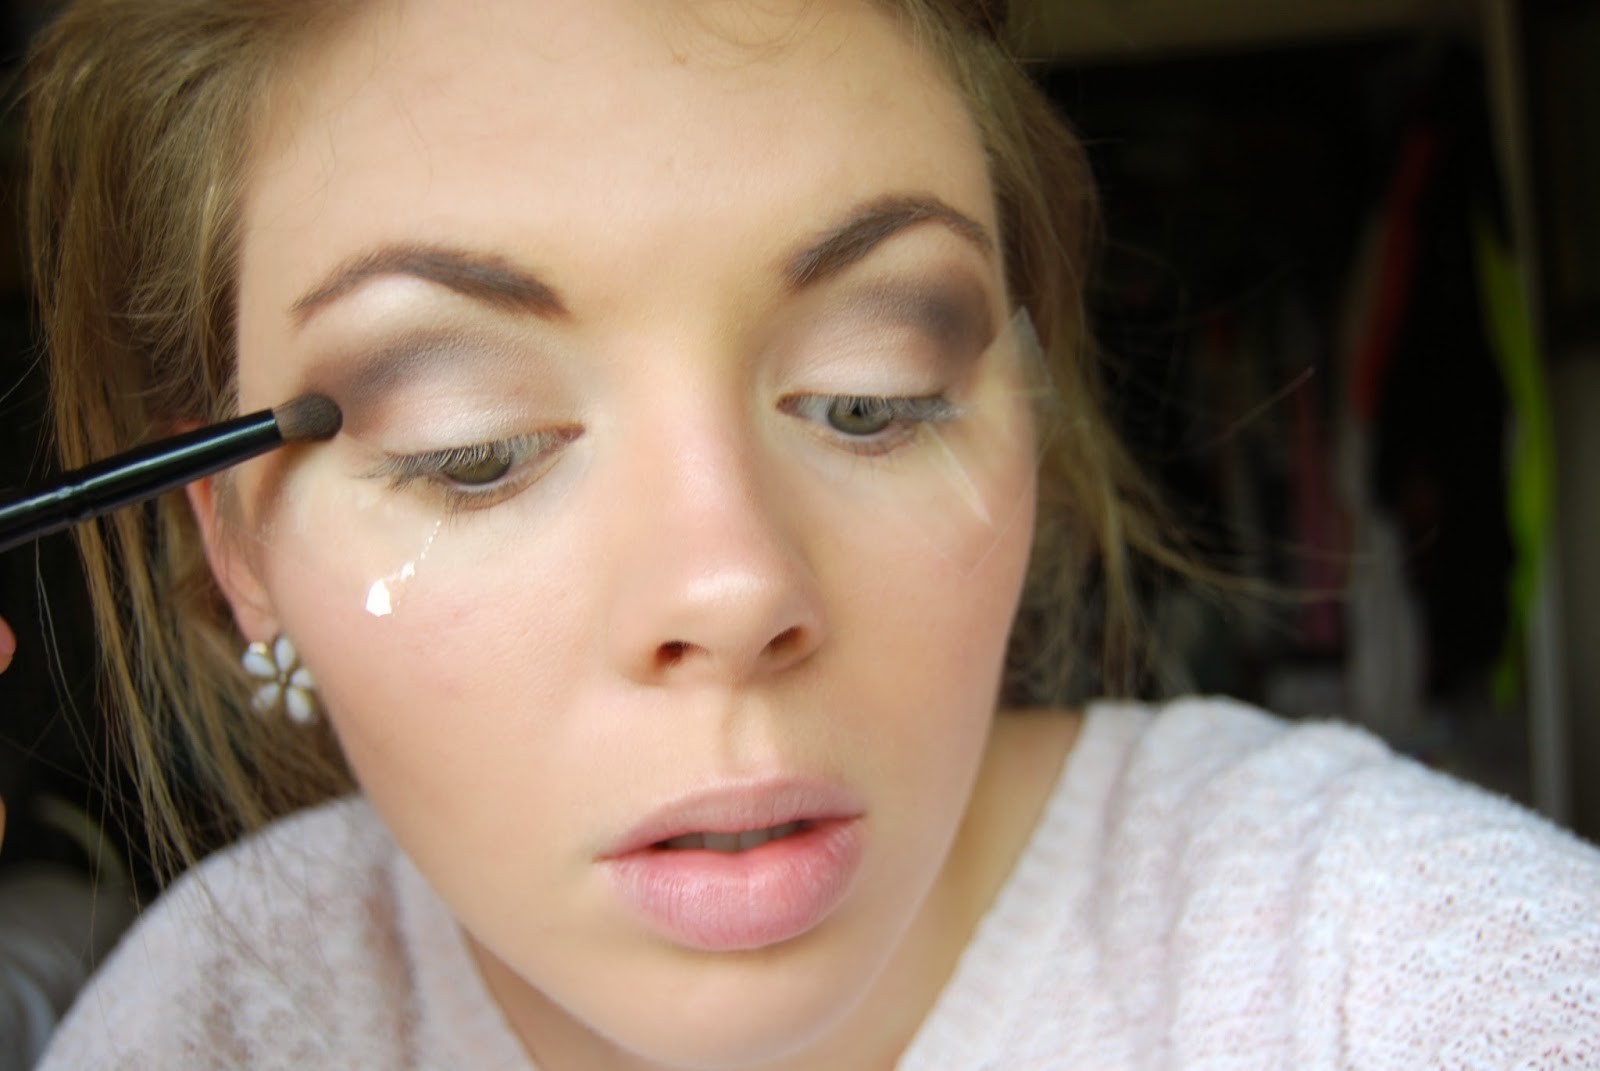
5) Use a darker non-shimmery shadow, preferably a matte brown, but here I have used a mauve sort of shade as I think it brings out green eyes more. This shadow is TEASE from the URBANDECAY naked 2 palette. I have used a smaller brush which goes to a point, and spread it across the crease, and down to the outter lash line. This is shown in the photo below.


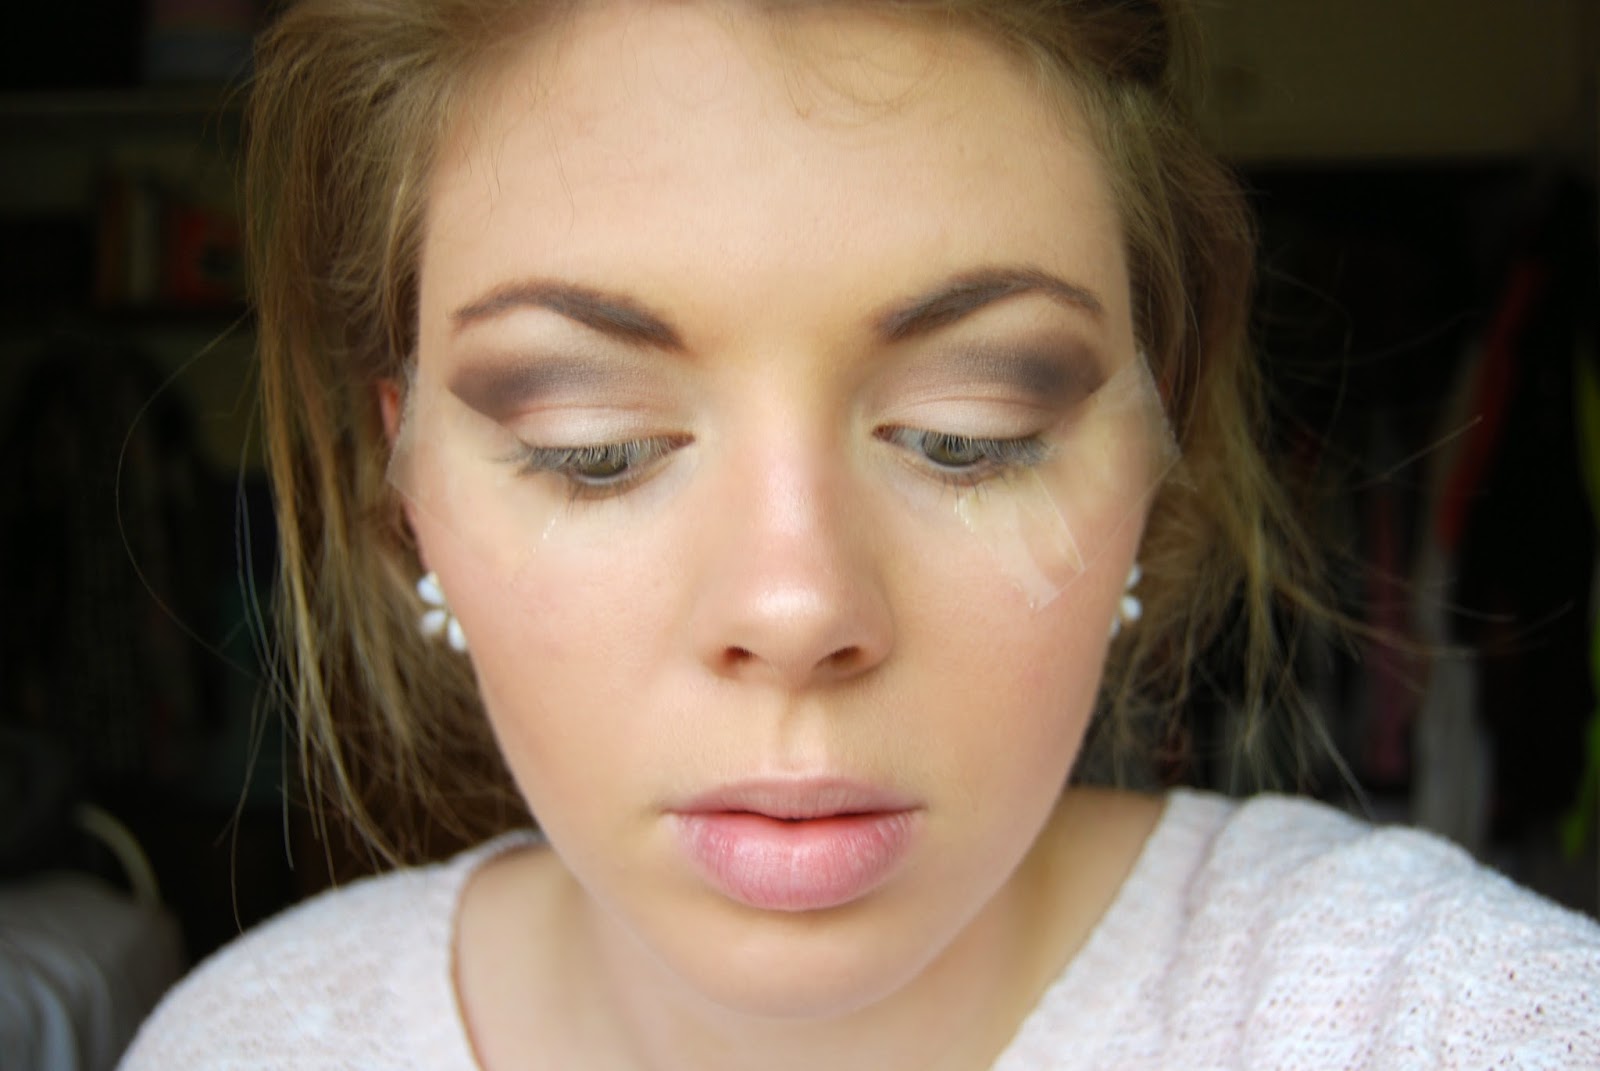
6) Add another matte shadow, that is a darker tone than the one just used for step 5. Here I have used BACKDOOR by URBANDECAY, found in their smoked palette. I have used the same brush, but applied the colour to a smaller area. Just a small line in the crease area. It will look a pit patchy, but the next step will sort that out.


7) BLEND!!!!!! Use another fluffy brush, but not the same one you used to apply the lighter colours. A blending brush should only be used for blending, as it gets all sorts of colours on it, and if you try use it again, say, on a light colour...you will get big dark smudges!
8) This step is a little trick i've picked up recently...apply tape (you can use plaster tape, sticky notes, anything), to your lids, but in the shape that you want your cats eye flicks to go. It may take a few attempts to get them in symmetrical lines!

9) Using the same brush from steps 5 and 6, apply the same colour used in step 5, but this time go right up to the tape. And relax, you can do this bit very scruffy and it won't matter because the tape will keep it nice and straight.

10) BLEND!!!!!! And if you still aren't happy, apply some more colour and blend again.
11) Use a liquid eye of your choice, preferably a gel pot and an angled brush as they create a more natural look and can be smudged easier. Here I have used the maybelline pot I blogged about earlier.


12) Keep adding the liner until you are happy. Draw it across the lash line. This makes the eyelashes appear thicker. (When I did this today I took the tape off and one was alot thicker than the other so I had to apply more and more liner till I was happy). Liner is always the tricky bit!!
13) Use a really shimmery colour of your choice, I have used HALF BAKED by URBAN DECAY which can be found in most of their palettes. You can use your finger or a smaller brush like I have, to re-sweep across the lid, but focussing mainly just above the lash line. The reason I do this now, is because the light colours can sometimes get drowned out by all the other shades. You want this colour to stand out the most to apply it last on top of everything! This gives a gorgeous shimmery glow.


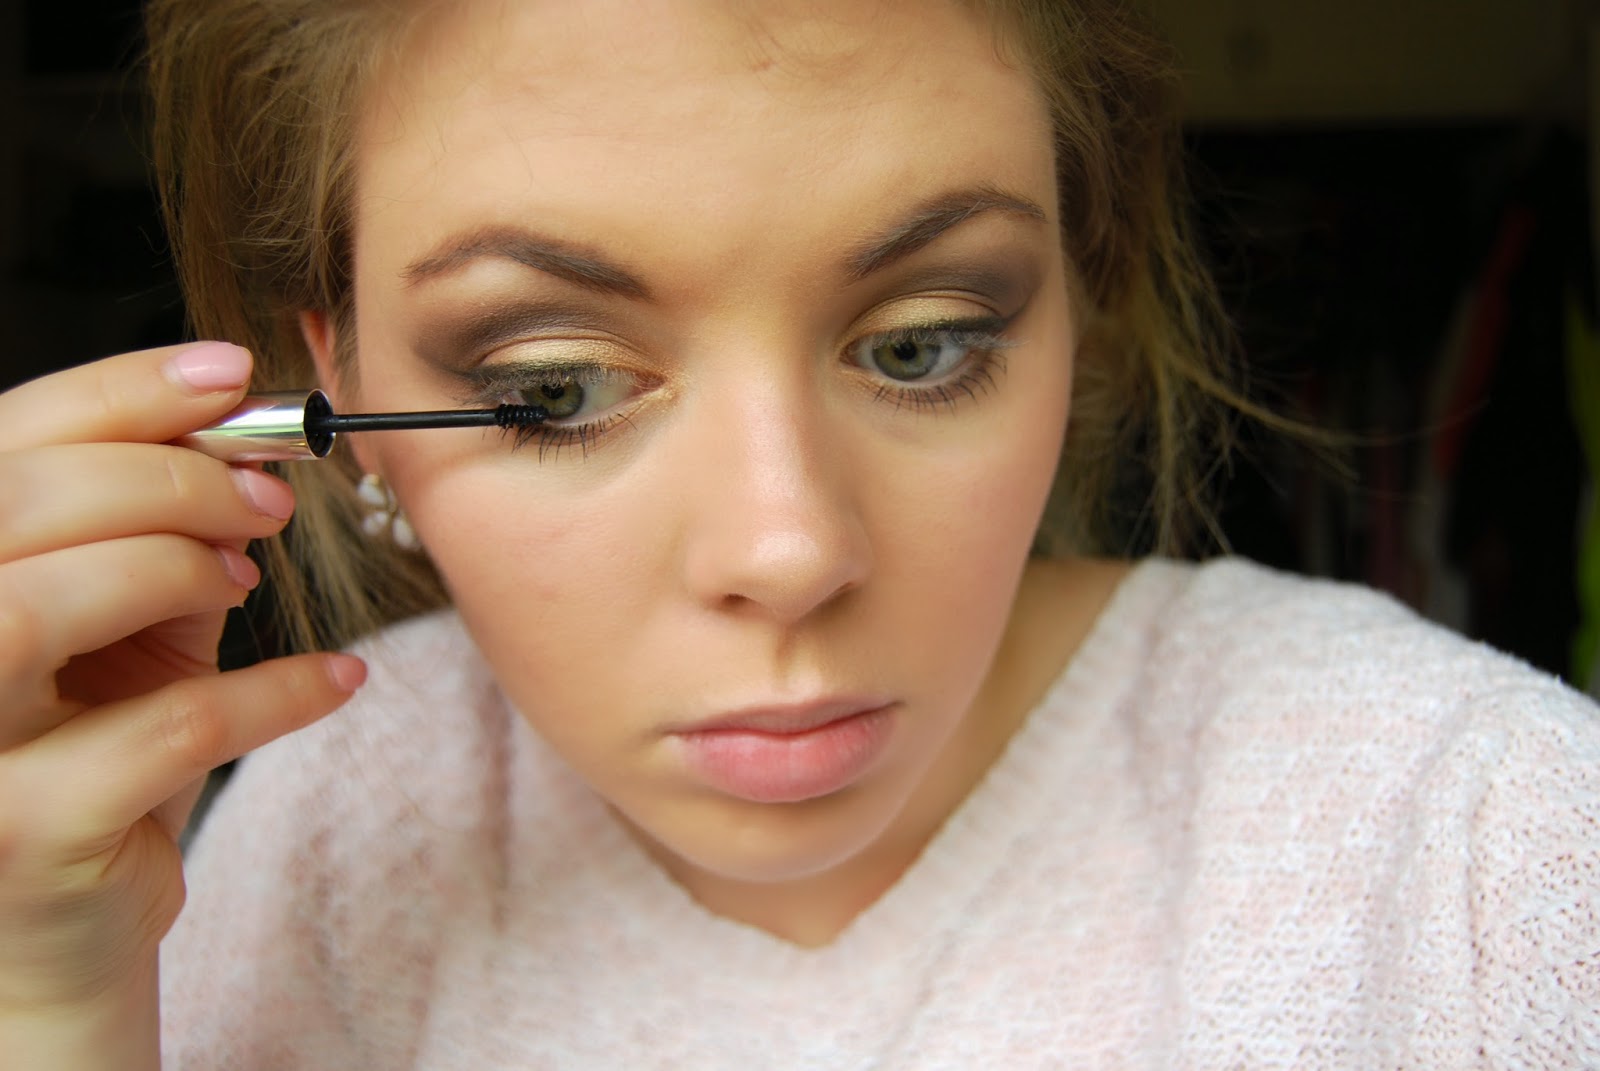
14) Use a bottom lash mascara, such as the Clinique one I have used here. This was £12 and such a great purchase as it is designed specifically for your bottom lashes. Mine are quite long, so if I use a normal mascara, it smudges and I get all black dots under my eye! Also, it makes applying mascara on other people's lashes much easier. Look at the tiny little brush!! After you have done that apply mascara to your top lashes using your preferred mascara. I have and always will used Max Factor Calorie 2000 mascara in black. Max factor 100% does the best mascaras.

15) Finish off by lining your lips with a nude shade. I have used a rimmel liner, used to often that I can't actually read what shade it is! I know though that it's rimmel, it's about £3 and I love it! Apply this around your lips and then draw lines following your natural lip creases. Smudge this in with your finger. I like the look of just the liner, but you can add lipstick or lipgloss till you get the desired look.

Personally I don't like faces which are too overdone, and if a you have done your eyes up more that usual, like this, then leave your lips natural looking.
FINISHED!! Here you have the finished look!


Any queries or questions you have just comment below! Or email my address in the 'contact us' section.
instagram: www.instagram.com/alicebodkin
Lot's of love!


